Wednesday, September 14, 2016

Reports, from the App or any device at manage.datiopos.com

Reports are a powerful and needed business tool.  Our reports are available in our App, go to Extras and then Dashboard.  Your user name (the email you used to sign up with) and password is required.  Forgot your password, follow reset password blog to reset.  Our reports are also available from any computer or phone at manage.datiopos.com.  In the upper right you can email the report to yourself or download as an excel file.
We have 5 reports.  All reports can be shown by Month (last 30 days), Day (today), Week (last 7 days), Year (last 365 days) or select the date Range of your choice.
Basic Sales will show you sales by total, cash, credit, your taxes, and sales by color.
Item sales will give you a list of all Items, quantity sold, sale amount and color.
Transaction report is very detailed to list every sale you completed with many details.
Sales Associate report can help you determine the sales by each of your employees, again remember you can pick anytime period that you are interested in.
Inventory report will show you the inventory of each item, quantity sold, threshold for low inventory notification and more.
On the bottom of the menu on the left there is a small arrow to hide the menu, it is very helpful when looking at the reports on your phone.


Dashboard can give you a quick look at your business, remember to select the time period you are interested in.


Item modifiers, what they are and how to use them

Datio POS Item modifiers are used to add options or modifiers to an item.  An example is adding beacon or avocado to a hamburger.  Let's review an example.  After adding the item such as hamburger, then click on modifiers in the item menu.  To get to the item menu click ADD ITEM or hold down on an existing item to edit the item.  Now simply add the modifier, Avocado, Cheese, Well Done or similar type modifier.  Turn on notes to cover things like no bun or extra well done or extra hot.  Modifiers can have a price or have no price ($0.00).


When you pick the item for sale a pop up will ask for the modifier as in my example Avocado, Cheese or Well Done.  I also turned on notes, so i can type in something like “Without bun.”


The cart will show the modifiers and the price will update by adding the cost of the modifiers.  The notes and modifiers will print on the receipt and kitchen receipt if enabled.


END


Monday, August 15, 2016

How to reset your password

How to reset your Datio POS password
Your security is very important to us.  We cannot reset your password over the phone or send you your password because we store it encrypted.  Follow the steps below to reset your password.  You can only reset your password from your iPad:
1. On the iPad home screen delete the Datio POS App by holding down the icon until it wiggles and you get the "X" to delete it.


2. Tap the "X" and then at the message, tap Delete. Note that we keep all your settings and data so you will not lose anything.

3. Press the Home button on the iPad.
4. Download and install the Datio POS Solution App again from the Apple App Store.  Search for "Datio POS" from the Apple App Store.

5. After the App has been installed, tap Open and then tap the Sign In tab.
6. Enter the User Email ID (email address) that you used to sign in previously.

7. Tap Forgot Password. 
8. We automatically email you a message entitled "Reset your password for DATIOPOS App" with a link to a new password.

9. Open the email message, and then tap the link.

10. Enter a new password, and then tap Save. 

11. You get a message that the password was changed.
12. Return to the Datio Sign In screen and enter your new password. Then tap Sign In.


Learn more about Datio POS apps for RestaurantRetailPizzaSalonQuick ServeFood Trucks and Ice Cream Shops.


Learn more about becoming a Reseller for Datio POS


Monday, August 1, 2016

How to use Prompt for Price or what some call convenience store mode

Many old fashion cash registers had departments or PLU (price look up).  Prompt for price is our new version of an old fashion method.  This feature can be used by a store that might have hundreds or thousands of items and don't want to add each item.  If you did want to add thousands of items, send us your spread sheet and we will do it for you.  Prompt for price is an alternative to adding each item.  Prompt for price is a way to add an item called "Drinks" or "Beer" or "Chips".  But instead of entering a price for each of these items when you select the item the system will ask your for the price.  Let's show how to do it.

From the home screen click + Add Item.

Name your item and select prompt for price and save the item.  Hit the X in the upper right to close the window.  In this example my Item is Beer.

Okay let's do a sale, select "Beer," the item we just created, and notice the software will prompt you to enter the price.

Now you see the item in the cart for the price we entered it.  Now click the "Total" to complete the sale.

That is our version of departments or PLU (Price Look Up) but with a new twist.  Thank you.


What is Terminal Credit? or How do i use my existing credit card reader with Datio POS?

Many of our customers requested to be able to use their existing credit card terminal.  Many want to do this because they have long term contracts with their existing processor.  Well now you can do it!  It is very simple to set up.
From the home screen go to Extras at the lower right.

Then select Custom Setup then Terminal Credit.

Turn On Terminal Credit in your Datio POS app.

Start a sale, by selecting an item and add to cart, select the total to start the payment process, below shows with Tips turned on, if Tips are off this screen will not be shown.  Turning Tips on is a great way to help increase your revenue from Tips.

Now it is time to enter the amount and swipe the credit card on our payment terminal.

Now let your customer pick his receipt type.

That is it.  At a later date if you decide to add integrated Datio credit card processing just send us a text at 408-643-0990 and we will help you get set up.


Learn more about becoming a Reseller for Datio POS


Sunday, July 10, 2016

Track Sales by Sales Associate

Enter Sales Associate to track Sales

Here is a quick how-to video for Sales Associate setup.


Discount by Item

Item Discount

Here is a quick how-to video on how to Enter discount by Item by Dollar amount or Percentage.


Sunday, April 24, 2016

How to register after downloading the Datio POS App from the Apple App Store

After you download the App, launch the App and you will see the Sign In and Register screen.  As a new user, please start on the Register screen.  Click on Register.

From the register screen enter your email address, and then select Send Me Verification Code.  Go to your email to retrieve the verification code.  Enter the code and select Continue to Register.  If you don't see the code in your email, check your spam or junk folder.

Now enter your registration information.  Please note the screen is scrollable.  Put your finger on the screen and move it up and down to scroll.  The following fields will print on your receipts for your customers: Business Name, Email for your customers to reach you, Phone for your customers to reach you, Address 1, Address 2 (not required), City, State and Zip.  After filling out the information, select Sign Up.  Thats it, you are now ready to start adding items and selling.


Here is what it looks like when you are complete.


You can edit this info by going to Extras on the home screen lower left.


Saturday, April 23, 2016

Features of Datio POS Base Station

This picture will help you understand the features of the Datio POS Base Station.
1.  iPad Lightning 8 Pin connection, including locking screw (optional)
2.  iPad Tray, 3 Trays included, iPad 4, iPad Air and iPad Air 2 or iPad Pro 9.7"
         We recommend iPad Air 2 with 16GB, this is the most economical and works perfectly with the Datio POS Base Station and the Datio POS App.
3.  Paper Feed
4.  Paper Lid Release
5.  Paper Lid
6.  Credit Card Reader (Swiper or MSR)
7.  Cash Drawer and Cash Drawer Lock, Keys Included
8.  USB Phone Charging Port
9.  Customer Display (Rear facing display)
10.  Barcode Scanner


Friday, April 15, 2016

How to add an item...
From the home screen in the App Pick "+ ADD ITEM"

The item window will pop up.  You can enter a name, price, barcode, color tag and tax.  If you have our Datio POS base station, you can also just scan an item to get to this menu and the barcode will pre-populate.

This is what the menu will look like after entering the information.  Your options now are add item to the cart and save, save only, or just add to cart and don't save.

To edit or delete an item just press and hold on the item then you can edit or delete.


Frequently Asked Questions

Frequently Asked Questions:

Q1.  What type of stores can I use your system for?
A1.  We work well for retail, cafe, diners, delis, restaurants and other shops.  We have a retail app for salons and basic retail.  We have a quick-serve restaurant app for order at the counter.  We have a restaurant app for full service pay the table restaurants.

Q2.  Can I use your system with my credit card provider or Square?
A2.  No we do not support other credit card providers or Square.  Our credit card provider, WorldPay, is a leading payment provider in the USA.  Please contact them at 303-362-2738 to understand how they can assist you.  No harm in checking our credit card processing rates, no fee for a quotation.  If you want to use your own terminal from your merchant bank learn how here.

Q3.  Can I use your system outside of the USA?
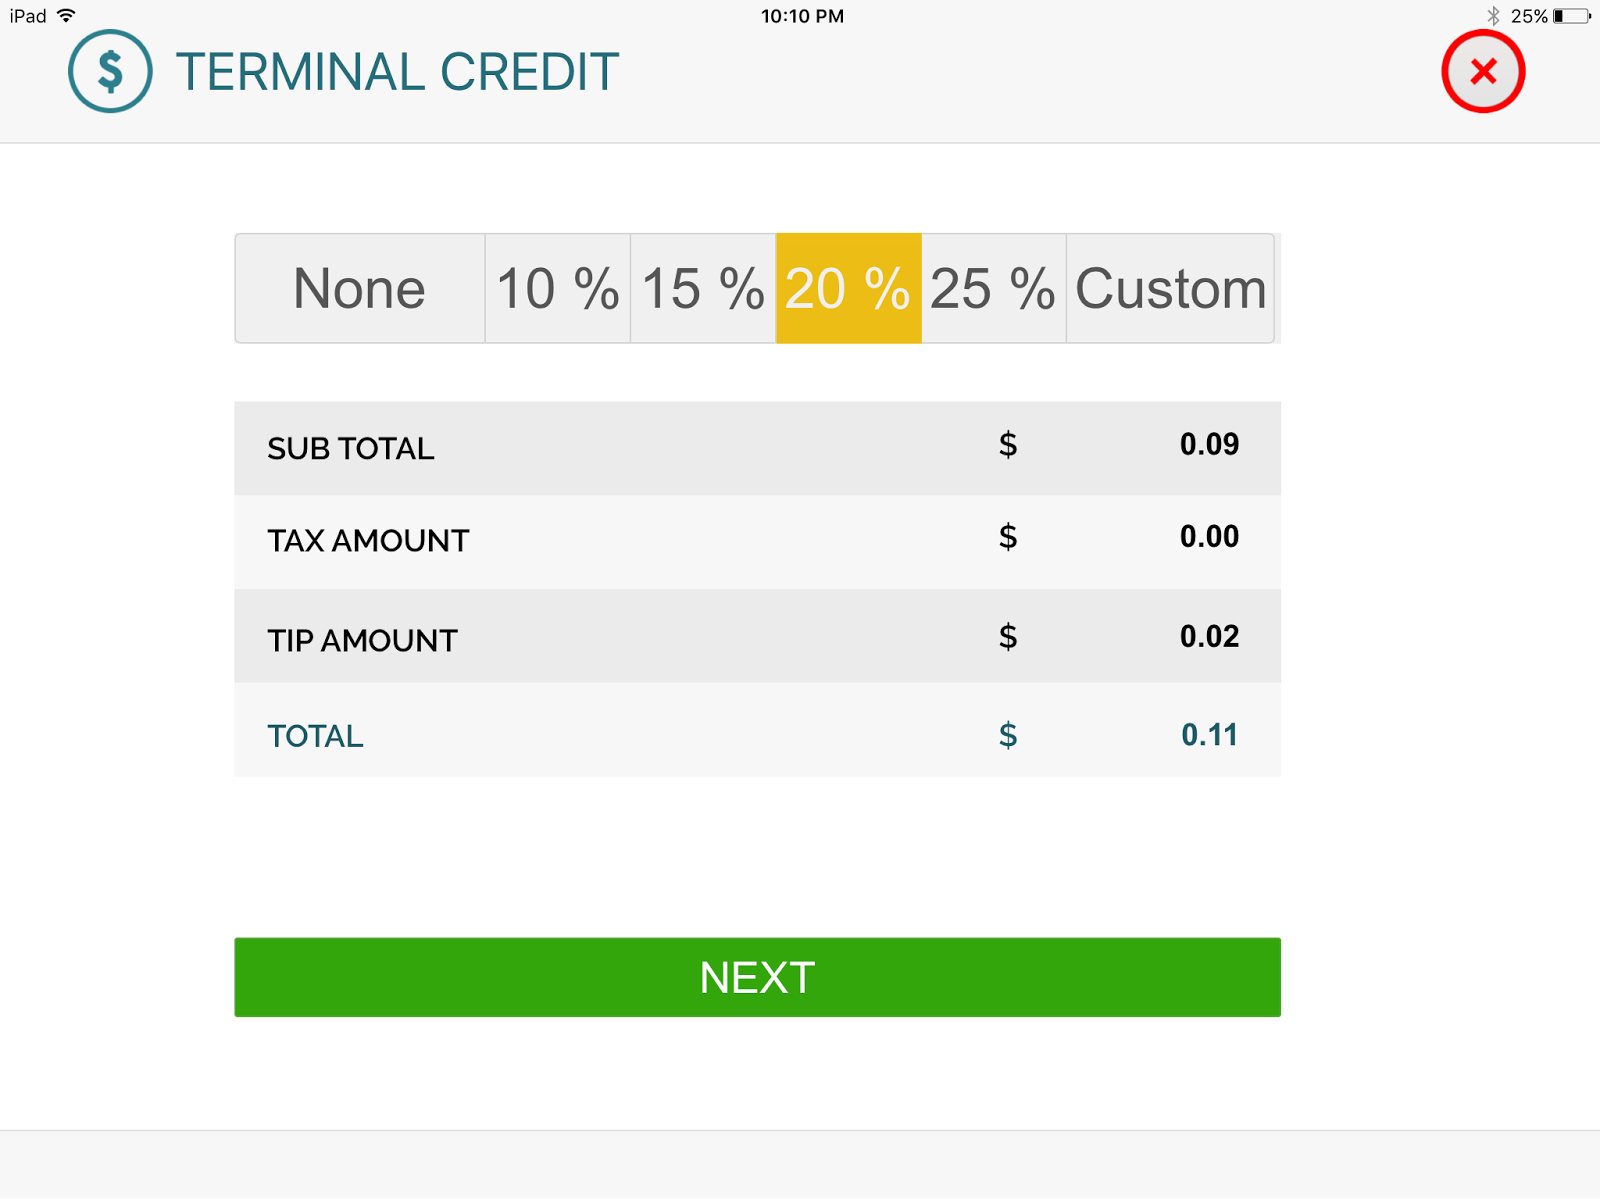
A3.  Yes, but only with cash, we do not support credit card processing outside of the United States.  We support credit card processing via Terminal Credit.

Q4.  Can I use your system for my restaurant?
A4.  Yes. We support pay at the counter restaurants such as cafes, delis, sandwich shops, and dinners with our quick-serve app.  We also support full-service pay at the table restaurants..

Q5:  What iPads do you support?
A5:  We support standard 9.7" iPads with an 8 pin connector.  This is the iPad Air, iPad Air 2 and iPad Pro 9.7" and current 9.7 iPad.  The iPads with the old big 30 pin connector we do not support.

Q6:  How do I know if my iPad is one listed above?
A6:  Easiest is if you have a 9.7" with an 8 pin it will work, this includes the following:

iPad Version; Model on Rear of iPad; Model from Settings\About\Model
iPad 4; A1458 and A1459; MD510LL, MD516LL and MD522LL
iPad Air; A1474, A1475 and A1476; MD785LL and ME991LL
iPad Air 2; A1566 and A1567; MGLW2LL and MH2V2LL
iPad Pro 9.7"; A1673 and A1674; (we are working on getting the settings model numbers)

Q7:  What is the best iPad to use?
A7:  We recommend the Apple iPad Air 2 with 16GB.  It is economical and works perfectly with the Datio POS Base Station and the Datio POS App.  The new iPad that works can be found on Apple's site here.

Q8:  I make custom cakes, how do i charge differently for each?
A9:  Click on "+ Add Item" from the home screen.  Give the cake a name such as Kerri's Wedding Cake, give the cake a price, click add item to cart.  The item won't be saved on the home screen but will be available to view in reports.  Maybe also always pick the category red to help in reporting later.
Amazon's #1 New Release.  We are very proud to get this prestigious award from Amazon!

Friday, March 25, 2016

How to get started:
  1. In box: the Datio Base Station, power cable, 2 rolls of paper, cash draw  keys, 3 iPad trays
  2. Supports iPads with 8-pin lightning connectors, (the smaller connector).  These are Apple iPad 4, iPad Air, or iPad Air 2.  The unit comes with the iPad Air tray installed.  For the iPad 4 or iPad Air 2 you need to remove the 4 screws and change the tray.
  3. Base station does not support iPad Mini or iPad Pro.
  4. Push the iPad into the Base Station, then push in the connecter on the right.
  5. Plug in the power cable on the bottom of the base station.  Then plug into the wall.
  6. Download the App by searching for Datio POS in the Apple App Store or  contact us at our support email address and we will send you a link to download the App.
  7. Start the Datio POS App.  Sign up and enter your email address. You will receive a verification code in your email.  Then enter the code and fill out the registration form.
  8. You are now ready to accept cash sales, call Vantiv to set up credit cards. You can now start to use the register.  Click + to Add Item, enter price and save to cart.  Or give the item a name and price and save it for next time.                                                                          
  9. You can manage your business from your laptop or iPad by going to  manage.datiopos.com.
      

Other helpful hints:

Datio Base Station Hardware
  • You can manually open the cash drawer with the white small slide switch under the unit.
  • You can lock in the iPad by tightening the security screw.
  • To screw the Base Station to the counter, remove the cash drawer, remove the two screws facing you, and slide off the mounting bracket.  Screw to counter, slide back and replace screws and cash drawer.
  • Flip the head toward your customer to let them slide their credit card and complete the sale.  Or you slide the credit card and then flip to let them complete the sale.

Datio Point of Sale (POS) App

  • Use Extra to set up taxes, you can set up 5 different taxes.
  • Use Extra to enable tips under Payment Options.
  • To do a refund, click Extra then Transaction list, search or pick the transaction, then hit return, and pick the items to return.
  • Use “+” to increase item quantity and “-“ to decrease it.  If item quantities are decreased to zero, the item is deleted.
  • Want to delete the complete cart?  Swipe to the right on the total, cart is cleared.